The brakes are a vital component of any car, and you want to make sure they’re working optimally. Bleeding the brakes is a key part of brake maintenance you might have questions about.
Our team at Mercedes-Benz of Manchester has compiled this guide on how to bleed brakes for all our friends near Manchester, Bedford, and Nashua, New Hampshire. Keep reading for answers to your top brake bleeding questions.
Over time, air may accumulate inside your brake fluid, causing bubbles. The brake fluid also gradually loses its ability to resist moisture, so this may cause water to accumulate and reduce your brake performance.
Bleeding your brakes removes trapped air or moisture. This relatively simple procedure will help you maintain safe vehicle performance and protect brake health.
When air or moisture gathers in your brake fluid, this often causes the brakes to have a soft, spongy feeling. If you notice this sensation when applying your brakes, it’s time to bleed your brakes. If you notice any changes in your brake performance, this is another sign you need service as soon as possible.
Bleeding the brakes is a simple process that usually takes less than two hours, but it’s important to familiarize yourself with the steps and go in feeling prepared. Before you do anything, read your owner’s manual to make sure you’re using the correct type of brake fluid.
Once you have the proper fluid, lift your car on a solid, flat surface—such as your garage or a flat driveway—and remove the four tires and wheels. Then, you can complete these steps.
Using a wrench, loosen the four caliper bleeding screws on your vehicle. Though you want each screw loose, do not leave all four open at once. Start with the screw on the rear passenger side. While you bleed one brake, keep the other screws on loosely to prevent air from getting inside.
Open the hood of your car to check the fluid level in your brake’s master cylinder. Your owner’s manual should tell you where this is. While you bleed the brakes, keep the cylinder cap unscrewed, but don’t remove it from the opening of the reservoir.
For this step, you will need a piece of clear tubing and a container to catch the old fluid. You should wear work gloves. Place the tubing over the bleeder opening and place the other end in the container. You can use a bottle, jar, or empty can.
When bleeding your brakes, you generally want to start with the brake furthest away from the master cylinder but check your owner’s manual to ensure that’s the case.
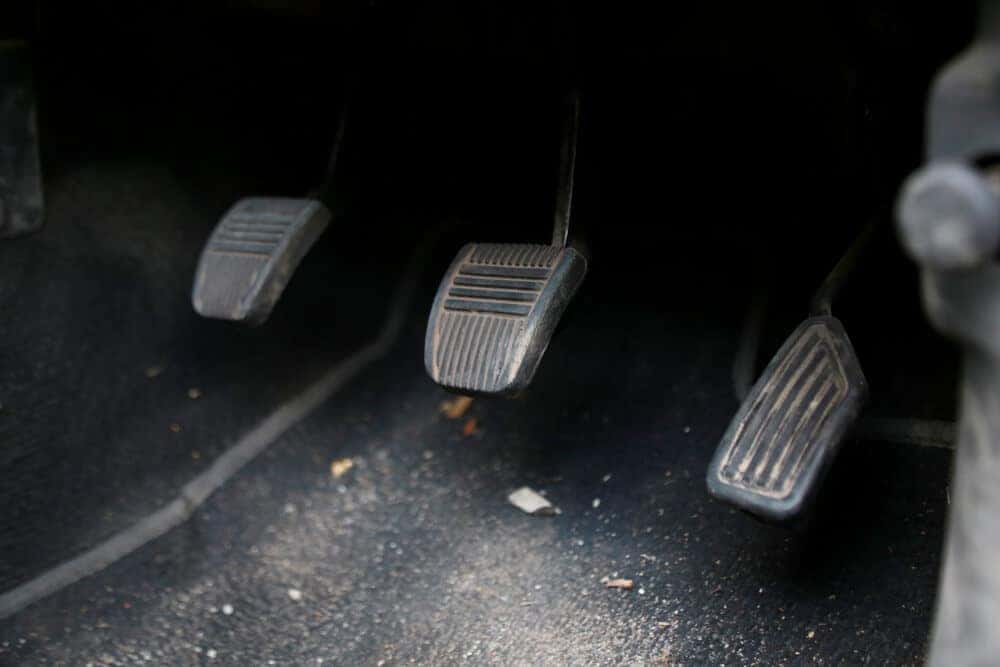
Now, it’s time to call a friend. Have a helper pump your brake pedal while the engine’s off. Your helper should press on the pedal until they feel solid resistance. The helper should then yell: “Pressure!”
While your helper presses on the pedal, open the bleeder screw. You will see fluid containing air bubbles come from the bleeder and through the tube. Your helper should press the pedal towards the floor, but before the pedal presses the floor completely, they should yell “floor” or “down.”
When you hear this signal, close the bleeder. Once you close it, your helper can slowly take their foot off the brake. Repeat this process until you see no air bubbles in the fluid coming through the tube.
Redo this process for each brake. Make sure each bleeder screw is back on tightly, then have your helper press the brake pedal. The pedal shouldn’t feel spongy anymore.
Then, replace the wheels and tires and lower your car.
Our team at Mercedes-Benz of Manchester hopes this guide on how to bleed brakes has asked you. If you’re a driver near Manchester, Bedford, and Nashua, NH, contact us if you need further assistance. Our trained technicians are at your service!